Physics in play
– Classical mechanics (free fall)
– Use of smartphone sensors (accelerometer, luxmeter, magnetometer)
– Conceiving rudimentary measurement tools with a smartphone: measurement of a magnetic field, a light intensity, a vibration detector, or an anemometer
– Electronics: use of Arduino boards to measure and emit light signals with LEDs
The story in two words
The students embody a team from the European Space Agency. They discover that they must remotely assist a spaceship that has just landed on an unknown comet.
INTRODUCTION
Show the students this “MO I1” video: someone from the space agency explains the situation and their mission.
Then give the students a way to communicate with the ship (ex: via the minnit.chat site) or a Whatsapp channel or a Discord that the supervisor will consult and use in secret to respond by playing the crew of the ship.
Then let the participants start chatting with the ship, the ship (you) must tell them that it is in the middle of exploring an unknown comet and asks them to wait for instructions.
TASK : MEASUREMENT TOOLS TO EXPLORE
DAY 1 / morning
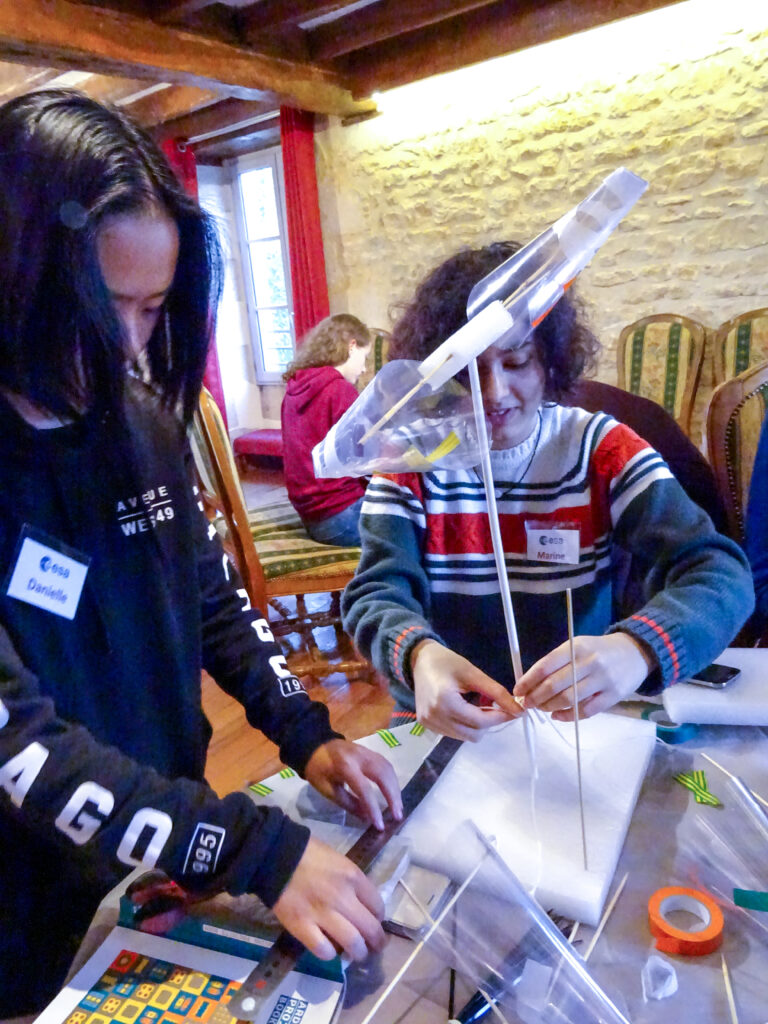
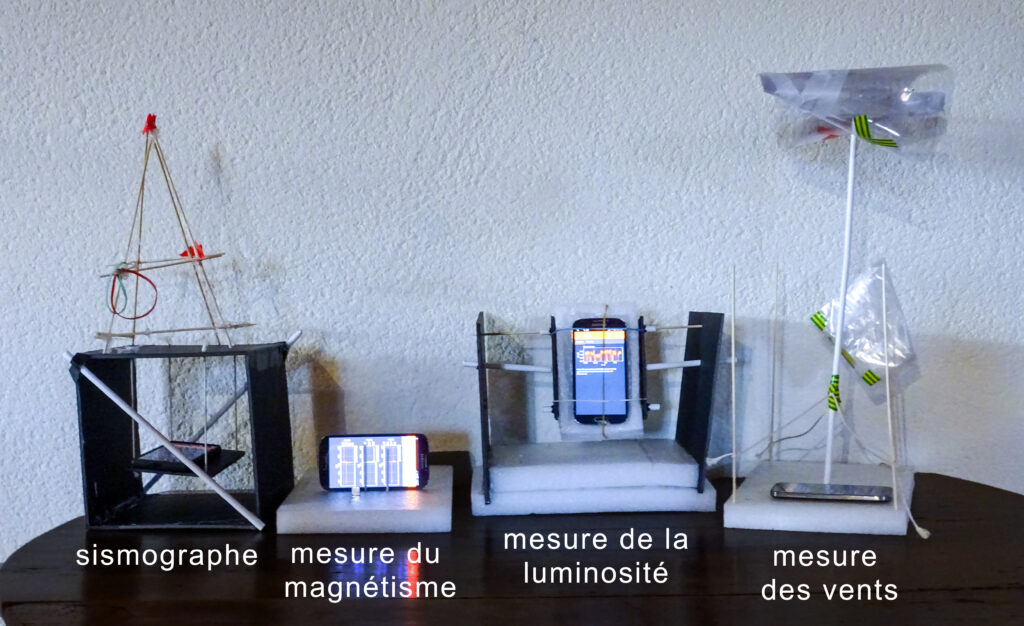
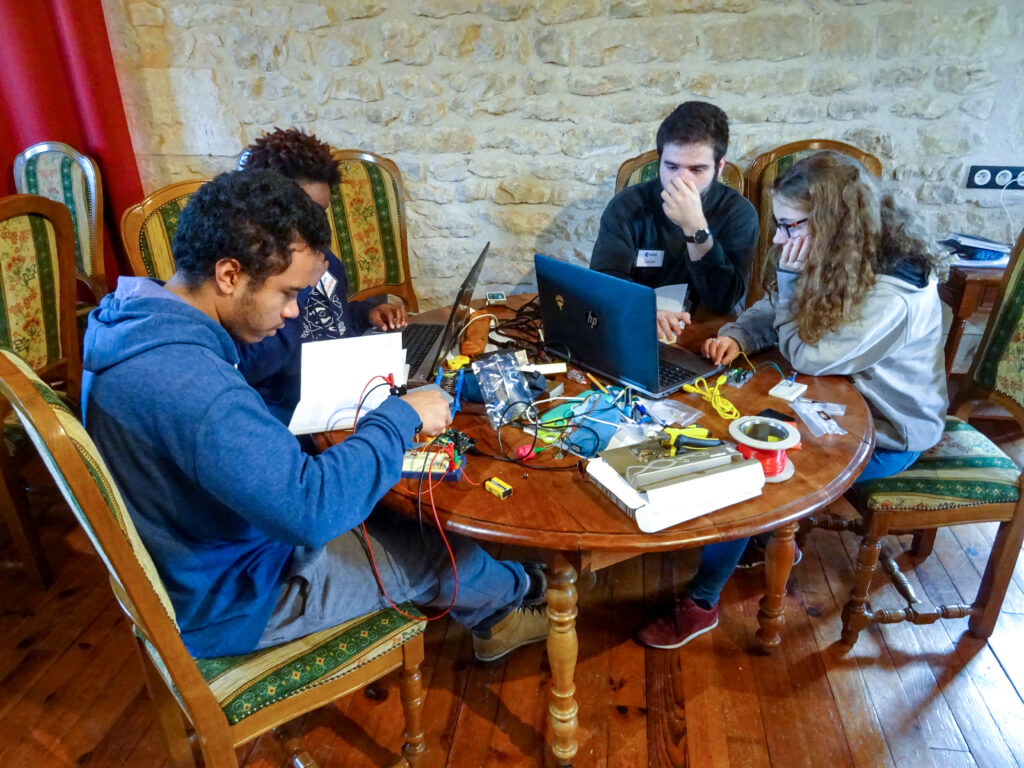
The test consists of making tools with a smartphone to measure basic parameters on the planet. Frugal materials are provided, and students work in groups.
The ship sends this message:
“Here the Odyssey ship, we need you! Here we are soon on the comet. Unfortunately, we don’t have much to measure the comet, we lost all the robots on takeoff. We have one PZ99 technology base kit left. So we need your help, and fast!
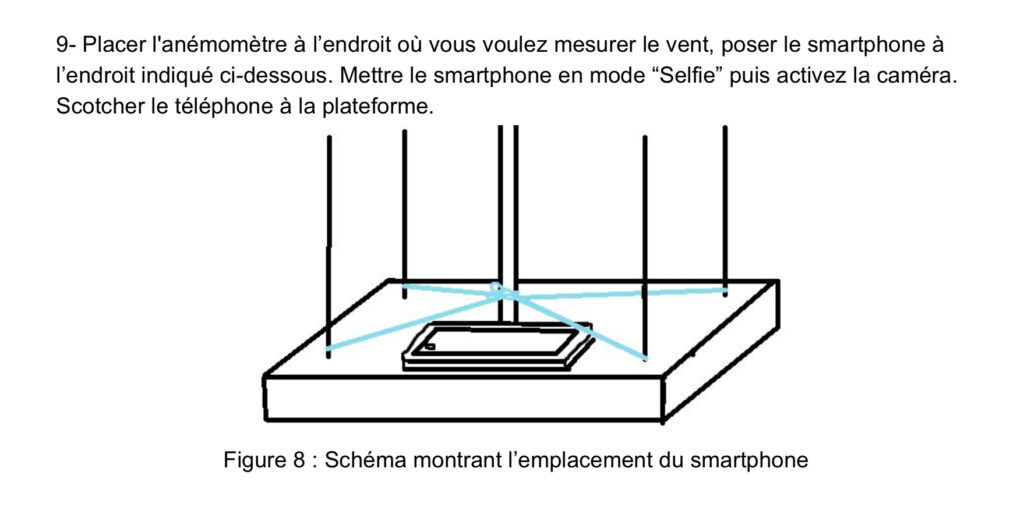
Can you, with this same kit, prepare us operational solutions to manufacture small measuring tools? If possible, we would need an anemometer to measure the speed of the wind, a magnetometer, a luxmeter, and a seismograph. We therefore recommend that you follow the PZ99 protocol. We should land in two hours. Can you send us user manuals by then? We count on you.”
Give participants the PZ99 protocol: choose according to the level of difficulty you want among the instruments to be made.
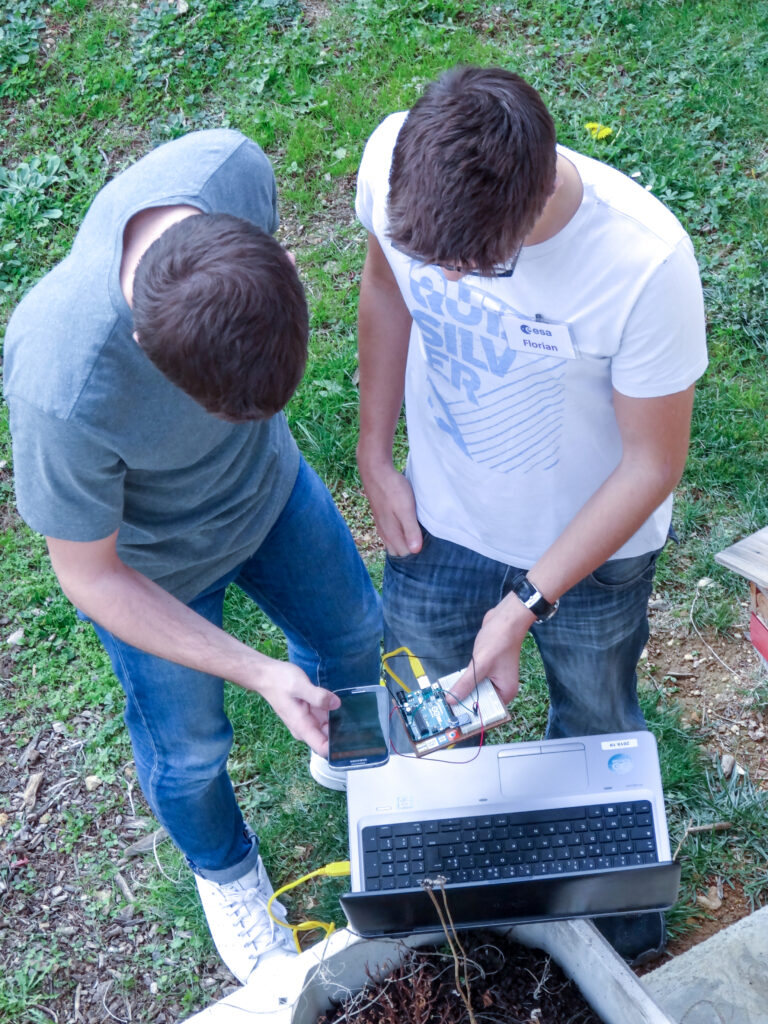
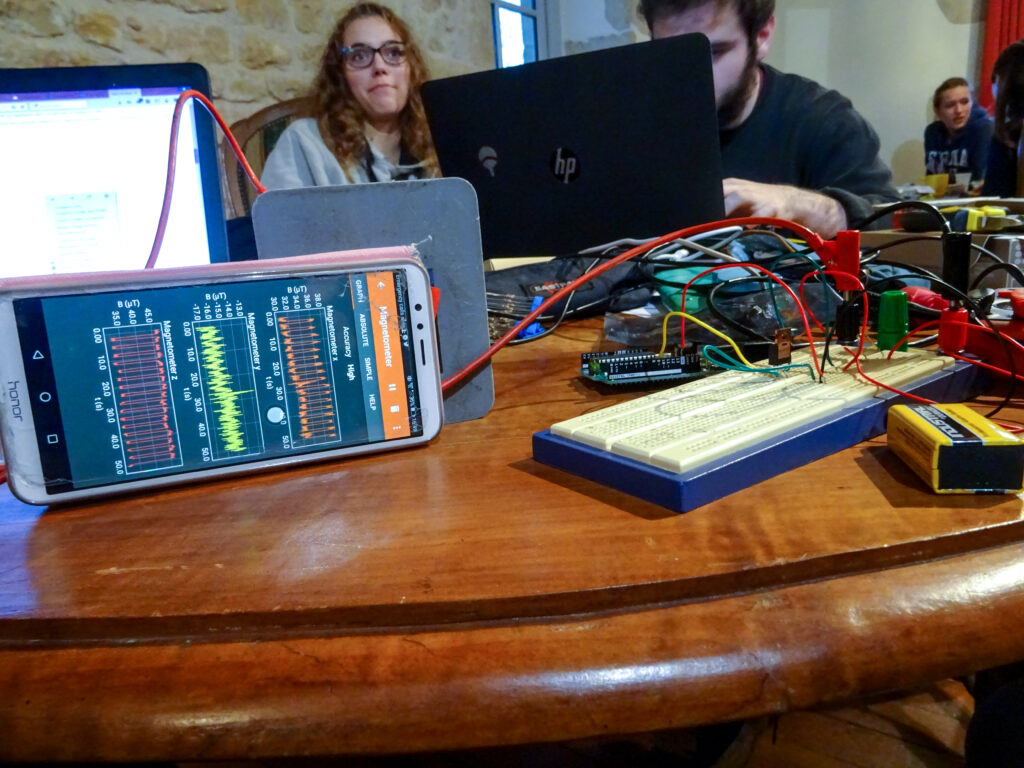
In this activity, the idea is to use the sensors inside smartphones to make physical measurements, combined with a little tinkering. The Phyphox app or the Fizziq app are perfect for this. If the students do not know them, plan a 10-minute crash course by an “expert on secondment to ESA” who shows how one of these applications works (you or a colleague).
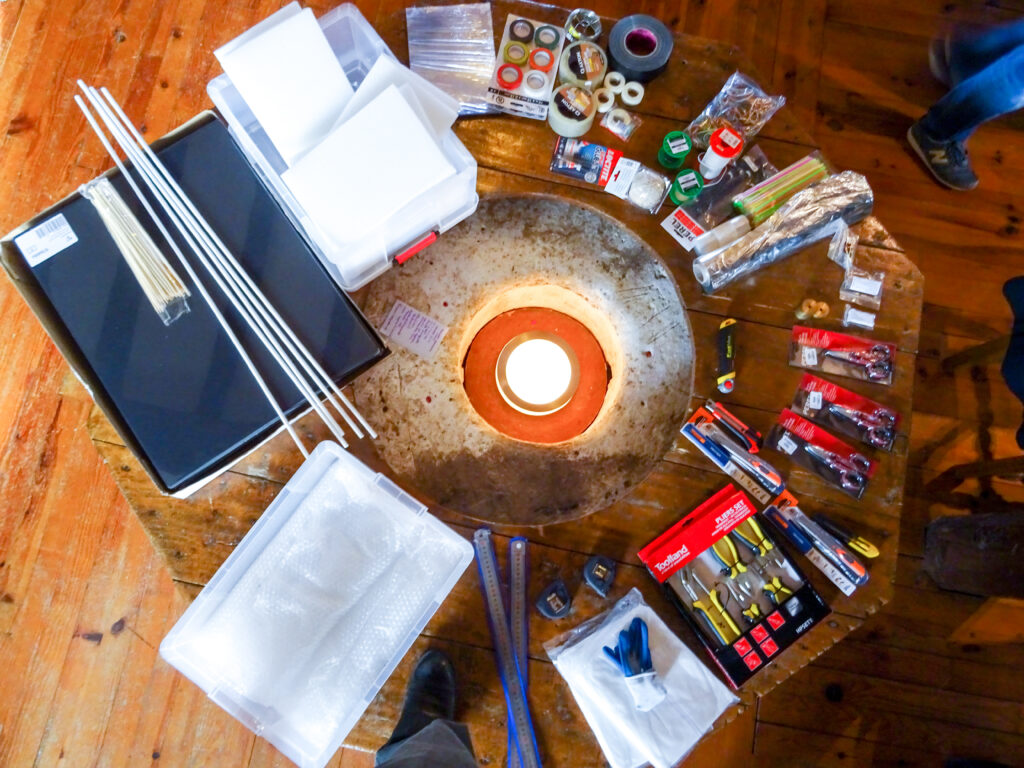
The PZ99 kit can be different or merged with the C2309 kit. In all cases, provide everyday equipment with which you can do small crafts.
Depending on your goals, you can only request some of the devices offered.
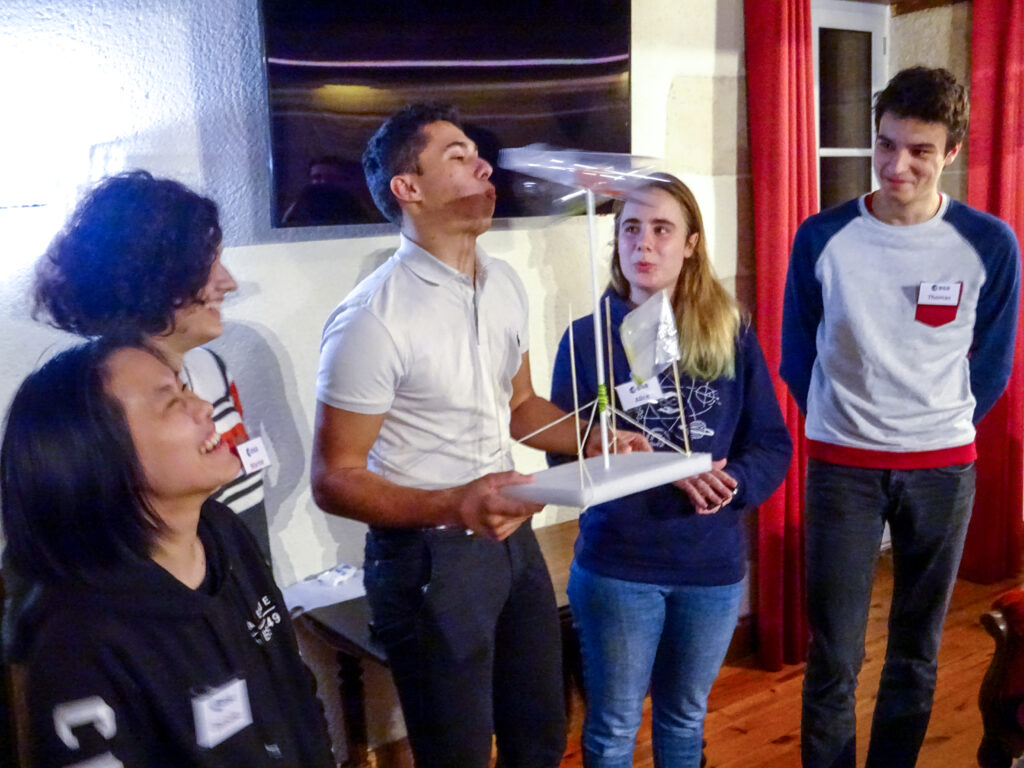
After the final tests, the team must agree together on which devices they retain, and send their photos and descriptions to the ship (just the photos if not the time).
TRANSITION
Message from the vessel in the early afternoon:
“Hello, here is a small point. We were able to retrieve your instructions and manufacture the instruments. We surveyed the entire area around our landing spot.”
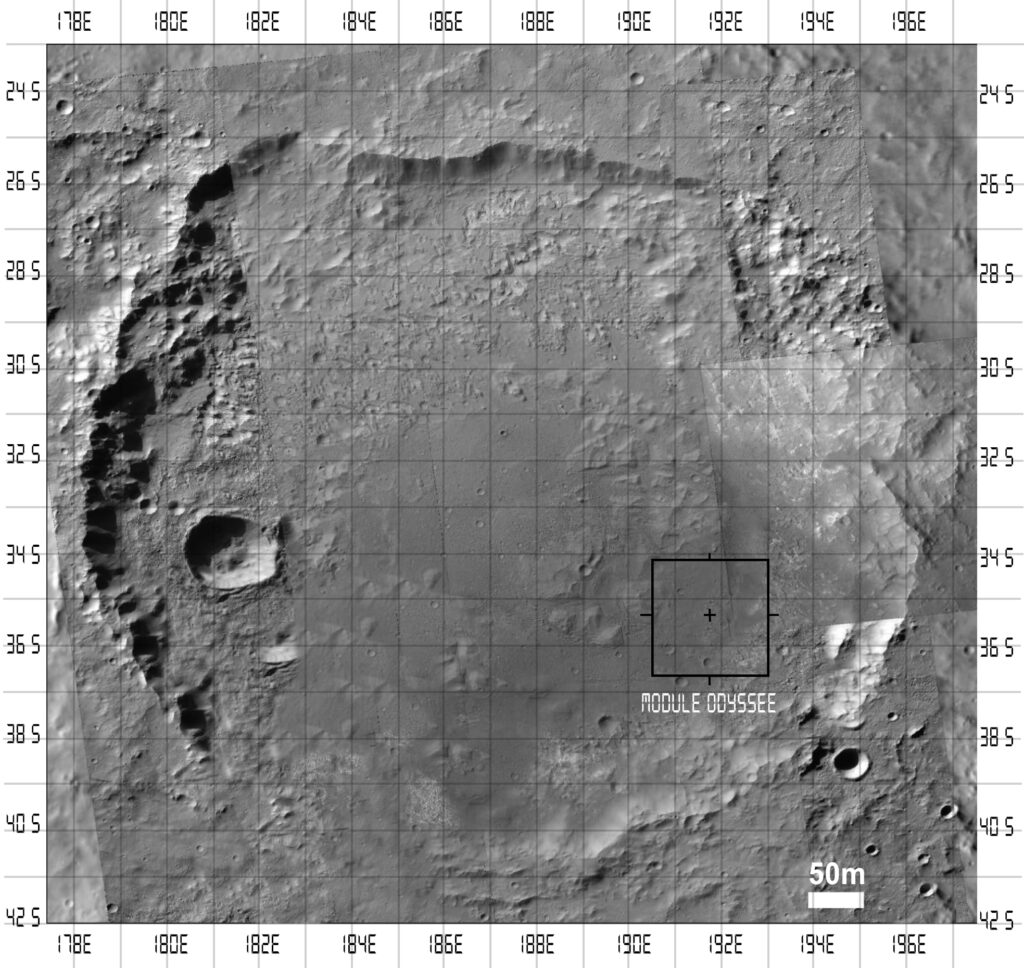
Possible option: data analysis: The ship sends the students the data it has collected and the map of the comet. He asks them to analyze them. They then normally locate a curious point at the level of a crater, and must tell the ship which will answer them that it is going to explore it. Link to the necessary documents (“map.jpg” and “data to trace.xlsx”).
Suite with or without the option:
The ship sends a message that basically says:
“We spotted a strange crater in view of the measurements. We’ll go take a look, we’ll keep you posted.
Then a short break and then continue with the next event.
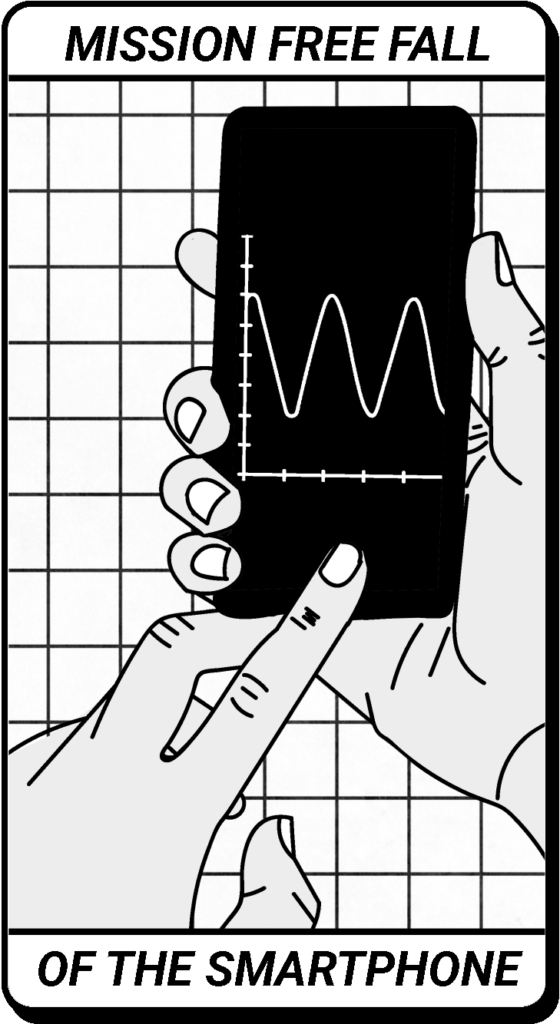
TASK : SMARTPHONE FALL
DAY 1 / afternoon
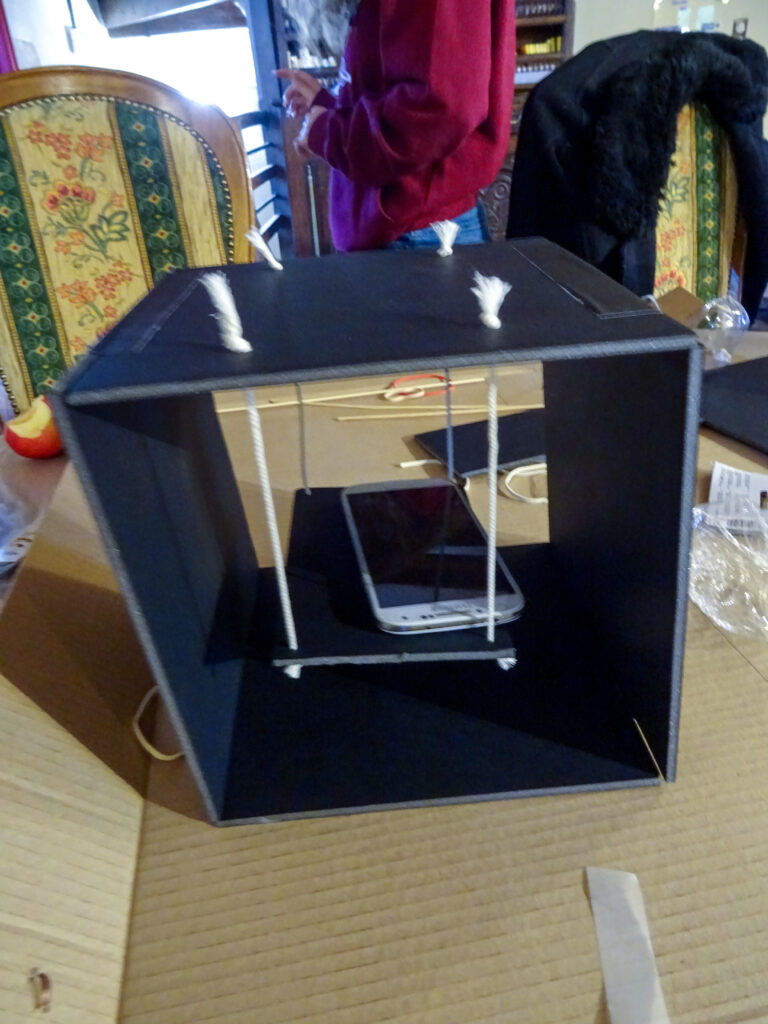
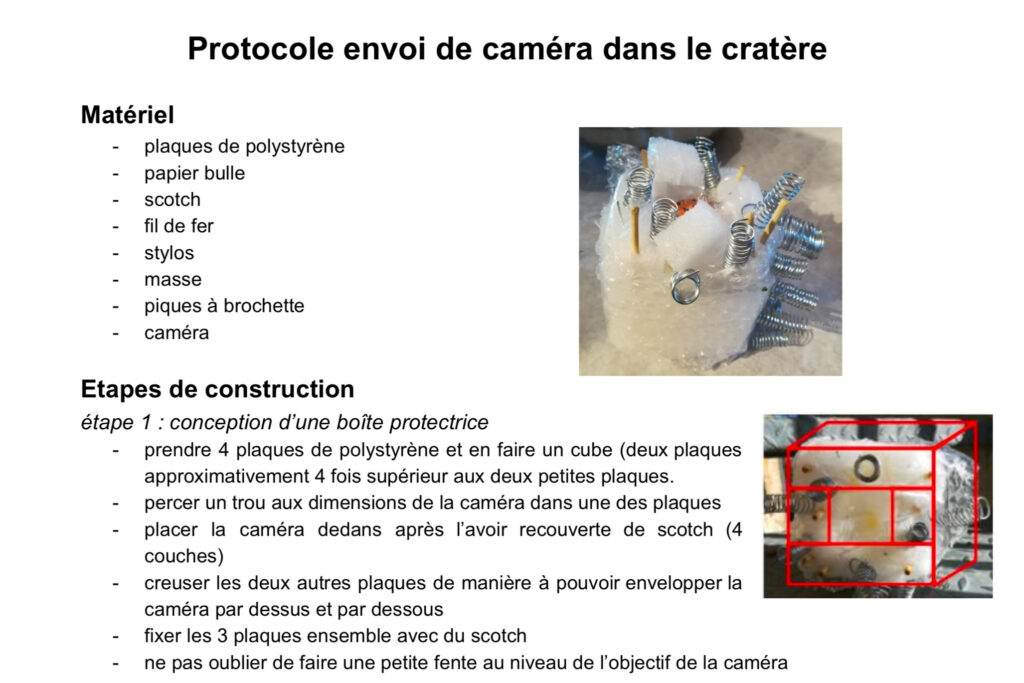
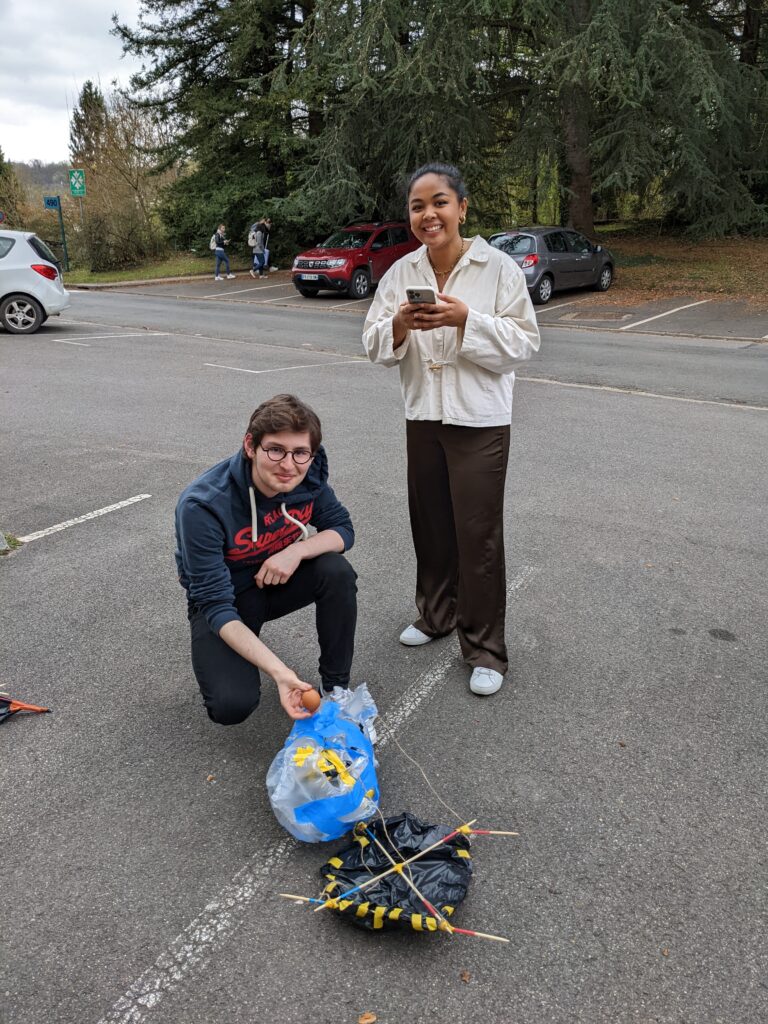
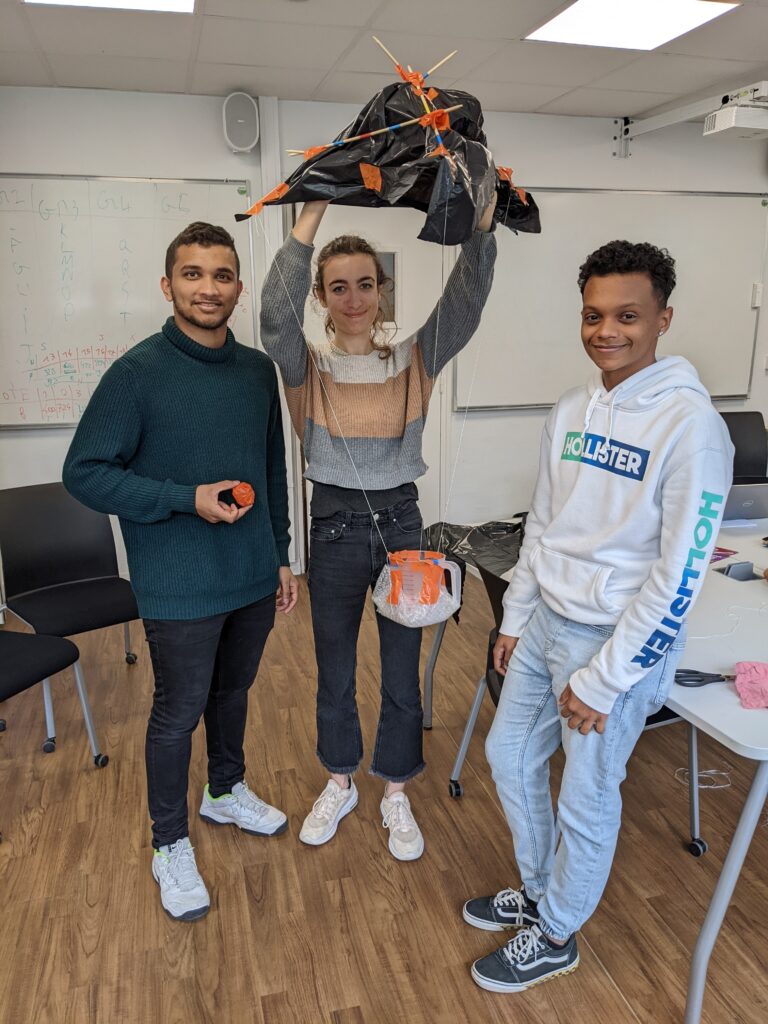
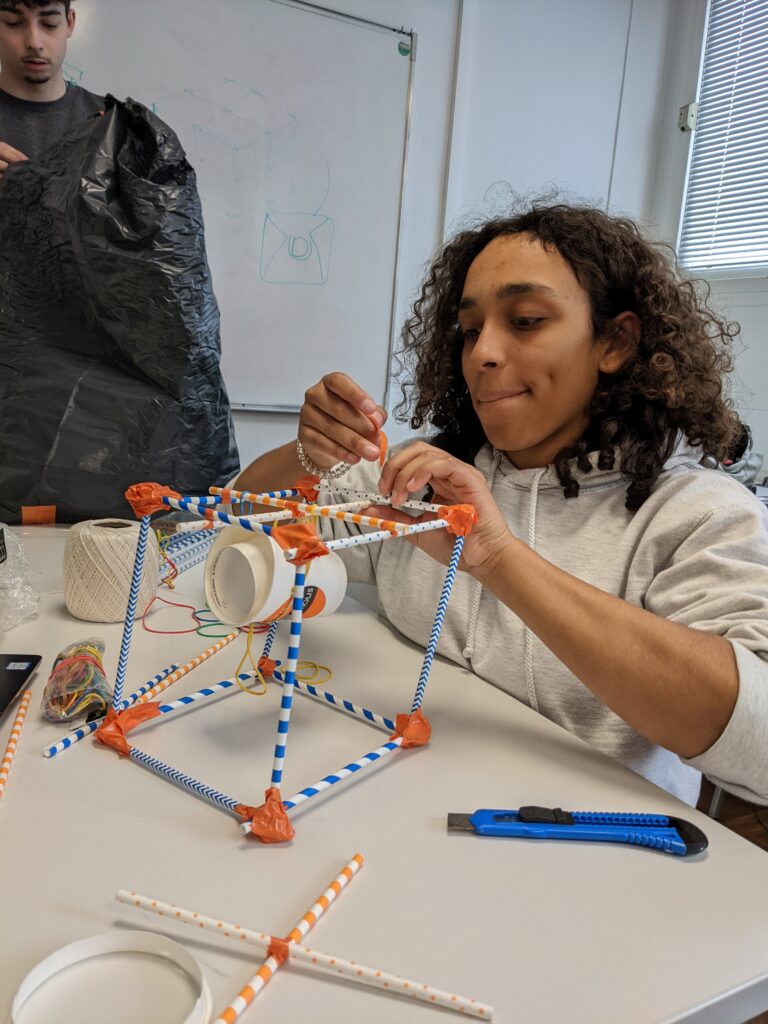
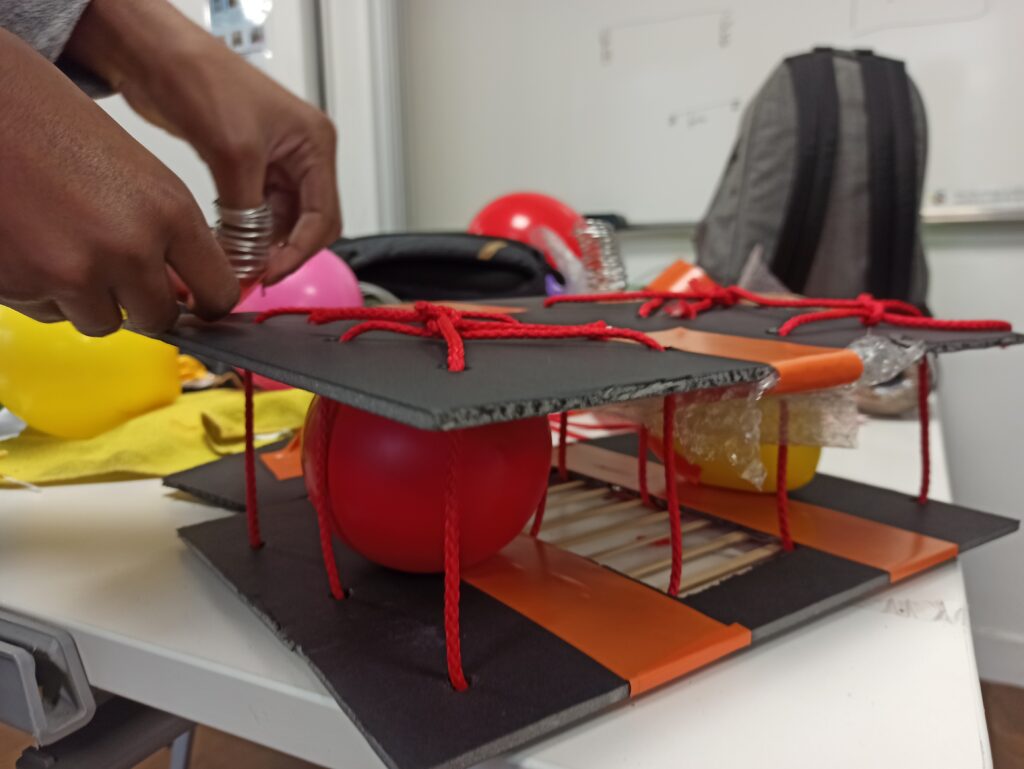
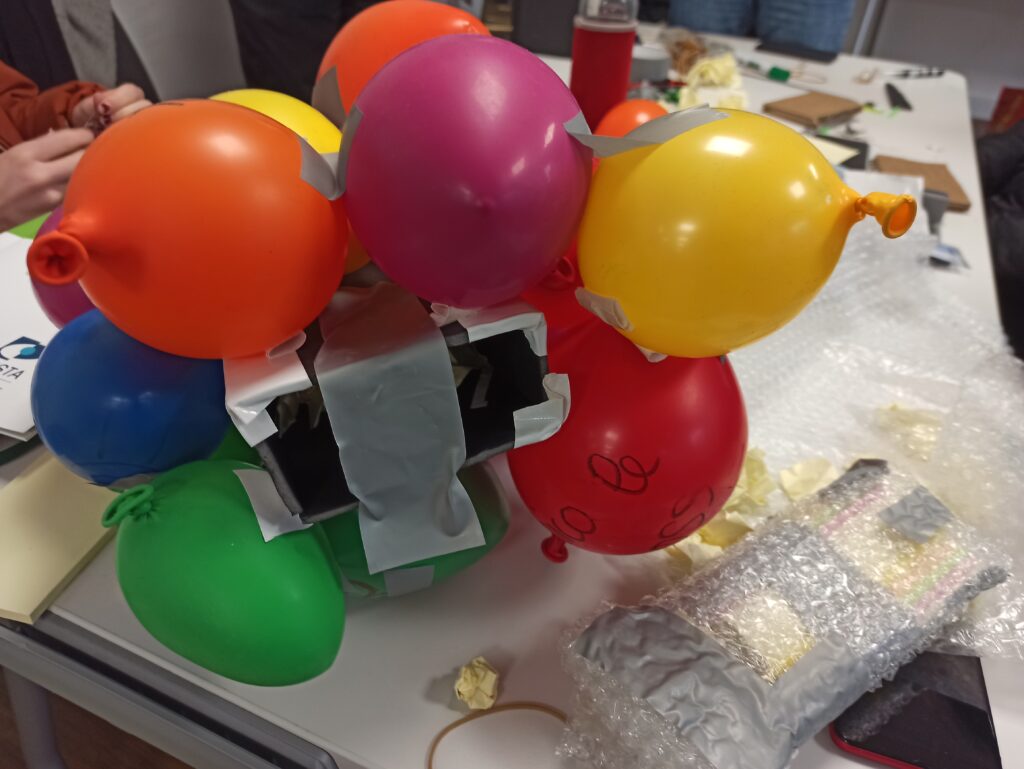
The test consists of making a protection to be able to drop a fragile object from above by following the GH12 protocol. Frugal materials are provided, and students work in groups.
The ship sends them this message (adjust the height of the fall and the duration of the test if necessary):
“ok, we just continued exploring, and we spotted a hole. Yes ! A real hole in the ground. It is one or two meters in diameter, and a depth of 5 meters roughly. It is surrounded by a very acid zone that you cannot cross and is probably toxic. But we want to see what’s in this hole at all costs!
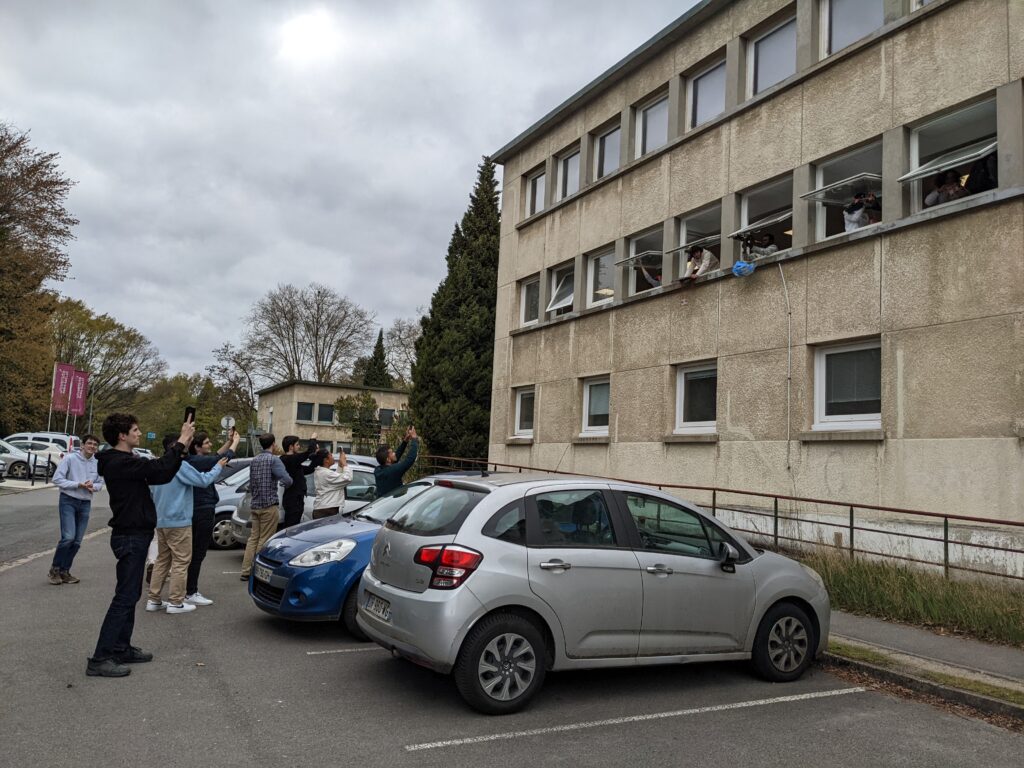
We have thought about it, and what we can do is send one of our smartphones into it in camera mode. As it falls, it will be able to film what is around and below, then we will recover the signal via bluetooth. Too bad if we sacrifice one, it’s worth it. In short, we need you to help us! Be careful, we have little autonomy, we cannot stay more than 2 hours on the comet. So send us within 1h30 a protocol to follow to protect the smartphone and allow it to fall and film what is around it. Attention, it is not possible to use a rope because of the acid zone. We can just come near the hole, throw the smartphone, and run back into a protected area.
We suggest you follow a GH12 protocol, that’s what seems the most reasonable to us and we have all the material here from the C2309 kit so if you can do it on Earth, we will do it here too!
Good luck, we’re counting on you!”
Choose from 2 versions of the GH12 protocol to give to students:
– a simple version, the only instruction is that the egg resists the fall.
– a more advanced version, which requires students to do a video analysis of the fall to assess the frictional forces of the air.
Do not hesitate to adjust the constraints according to your students and your objectives, for example:
– the camera must be able to film the fall, which forces the students to slow down the fall (set a minimum duration)
– once the device is on the ground, you have to be sure that the camera has a precise orientation (to film in the right direction).
This activity can be more or less advanced depending on the constraints you impose:
– tracking of the fall by video analysis (use the Fizziq application for example)
– impose a minimum time and orientation constraint during the fall in order to film it.
Typical process :
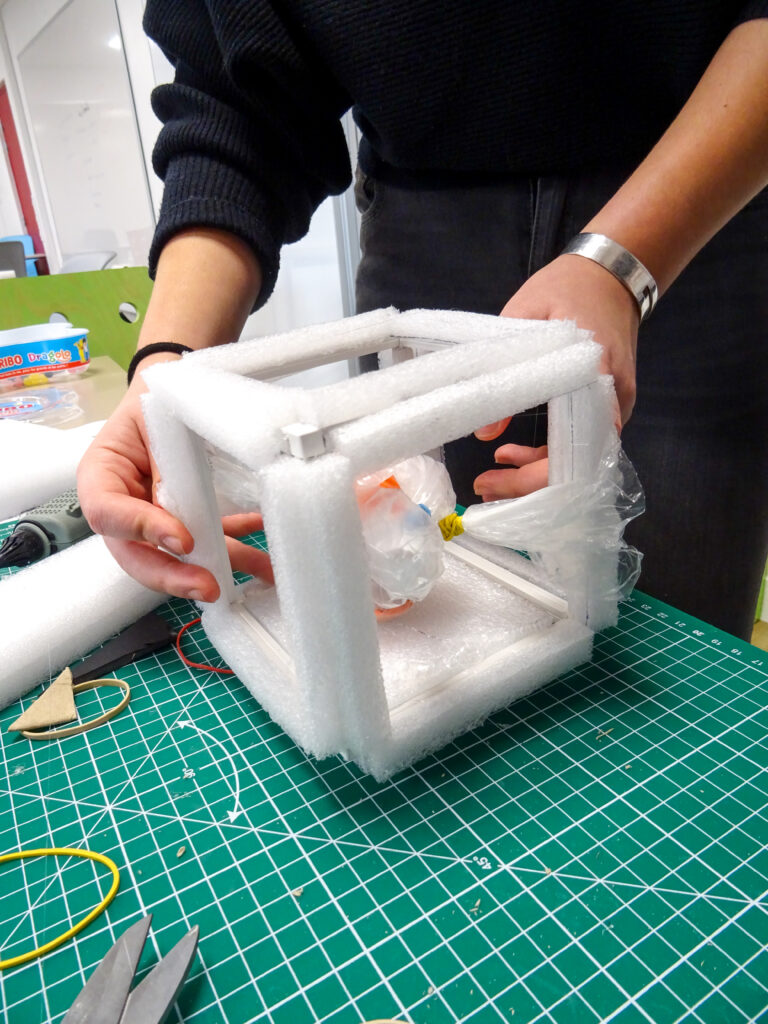
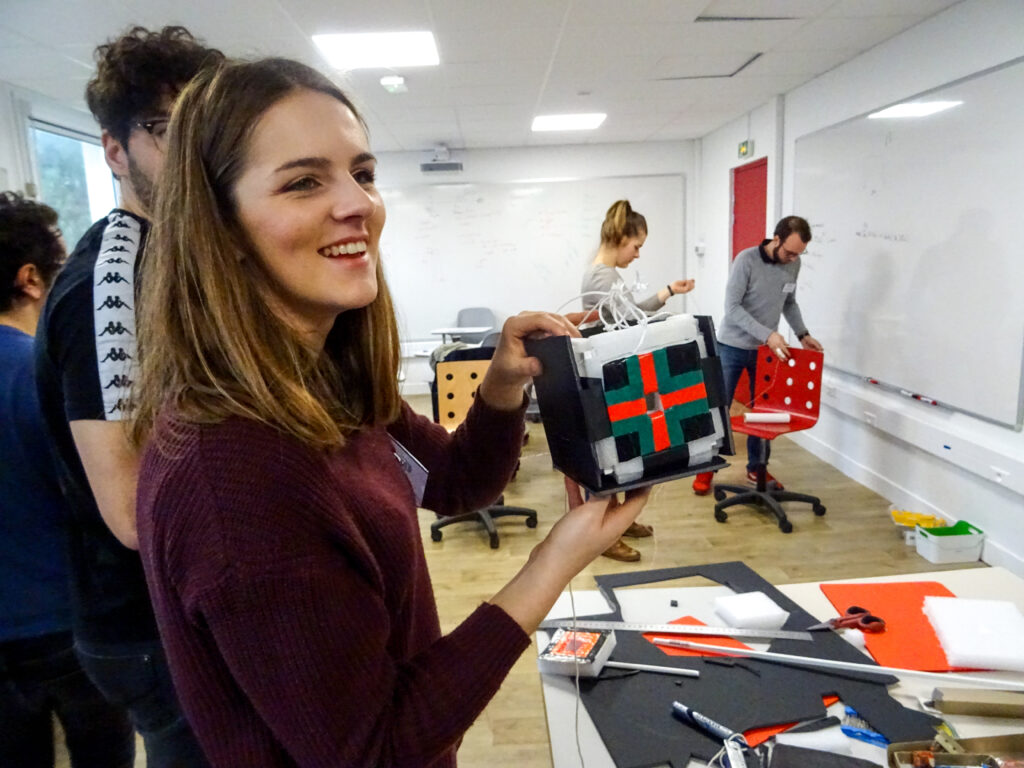
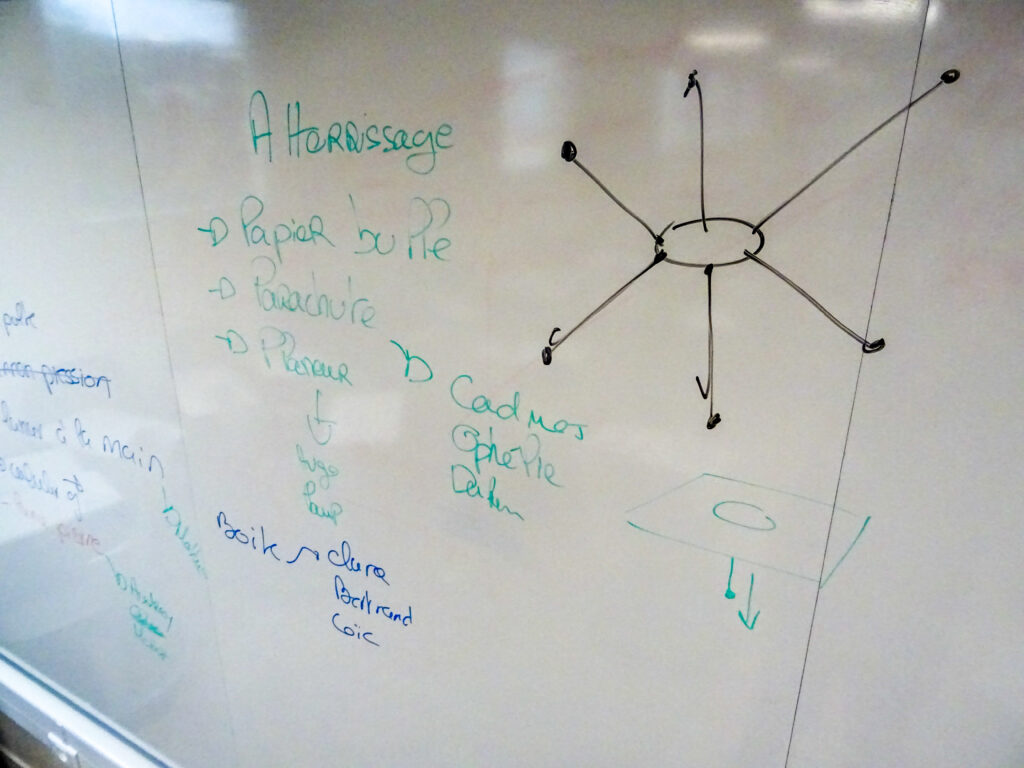
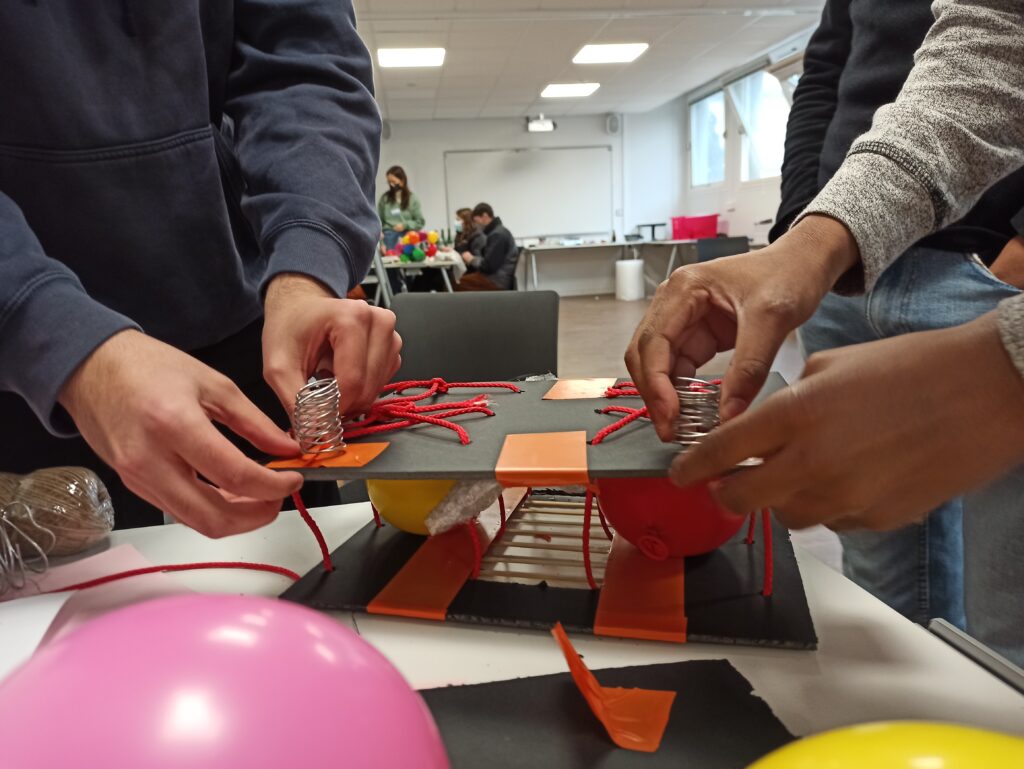
Device manufacturing time: 1h30 – The students design a device in groups, test it, improve it.
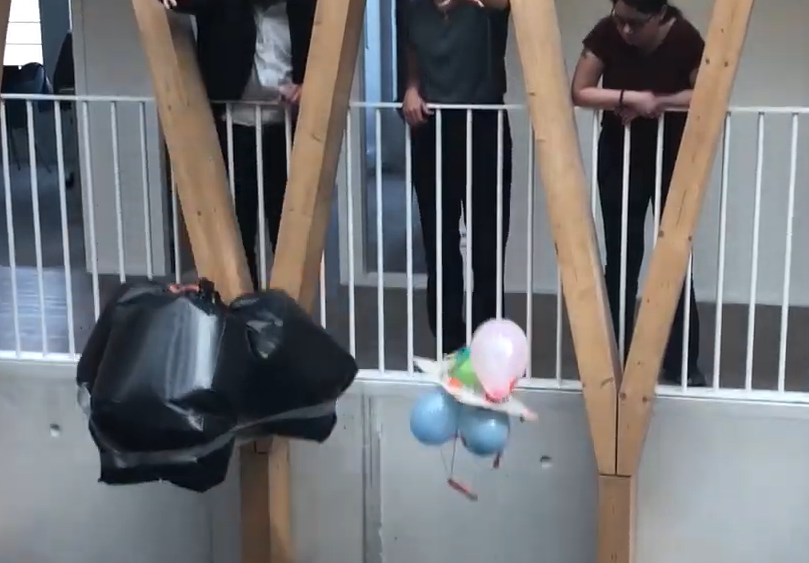
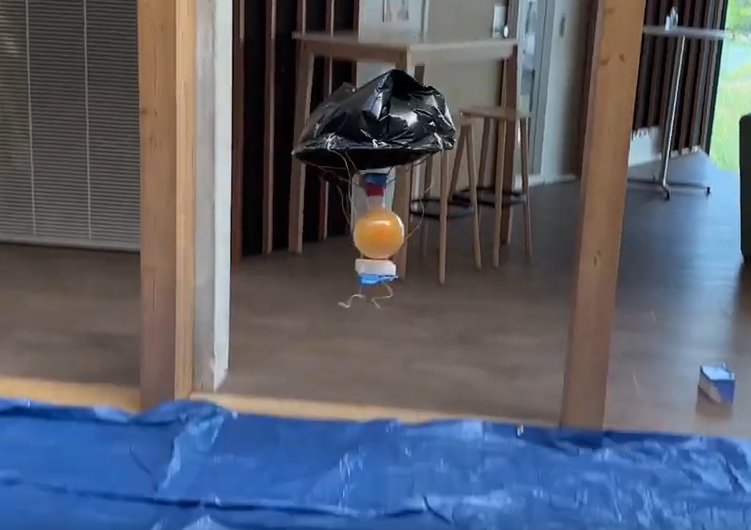
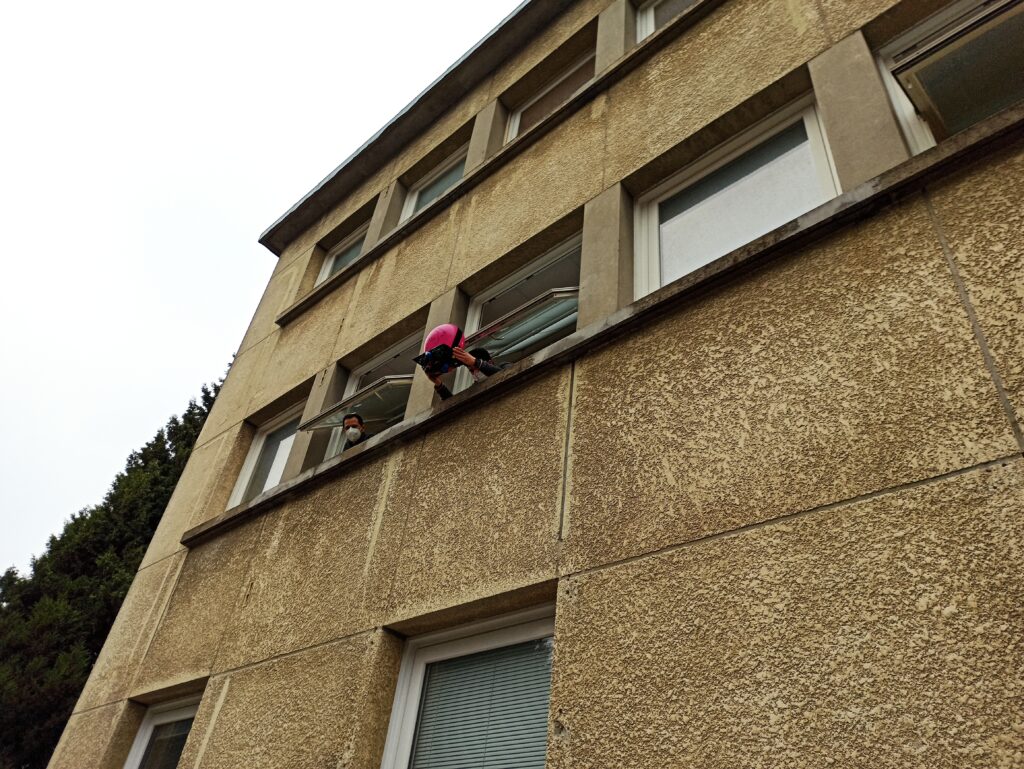
Final test: 20 to 30 mn : all the groups, one after the other (or all at the same time if time is short), test their device in real size (drop it from a height of about 5 m) and check whether the conditions emitted by the protocol are verified. For this test, the smartphone is replaced by an egg: the egg must be intact at the end of the fall. All the students must then agree on the device to be sent to the astronauts (take a photo of the plan and the device that is sent to the spacecraft).
Optional: if we want to avoid having to choose between the different devices (to avoid competitive tensions), we send the plans of all the devices to the astronauts as well as their test results, and we say that they will be the ones who will choose according to their constraints local (equipment, space suits, etc.)
If you have many students: groups of 3/4 students work well. If the groups are larger, we can provide tutorial writer functions: some students take charge of writing instructions for making the device. We can insist on the important nature of this document and its duty of clarity. Otherwise, photos are enough to communicate with the astronauts. If the groups are larger, plan a trajectory analysis activity that is supported by a few students
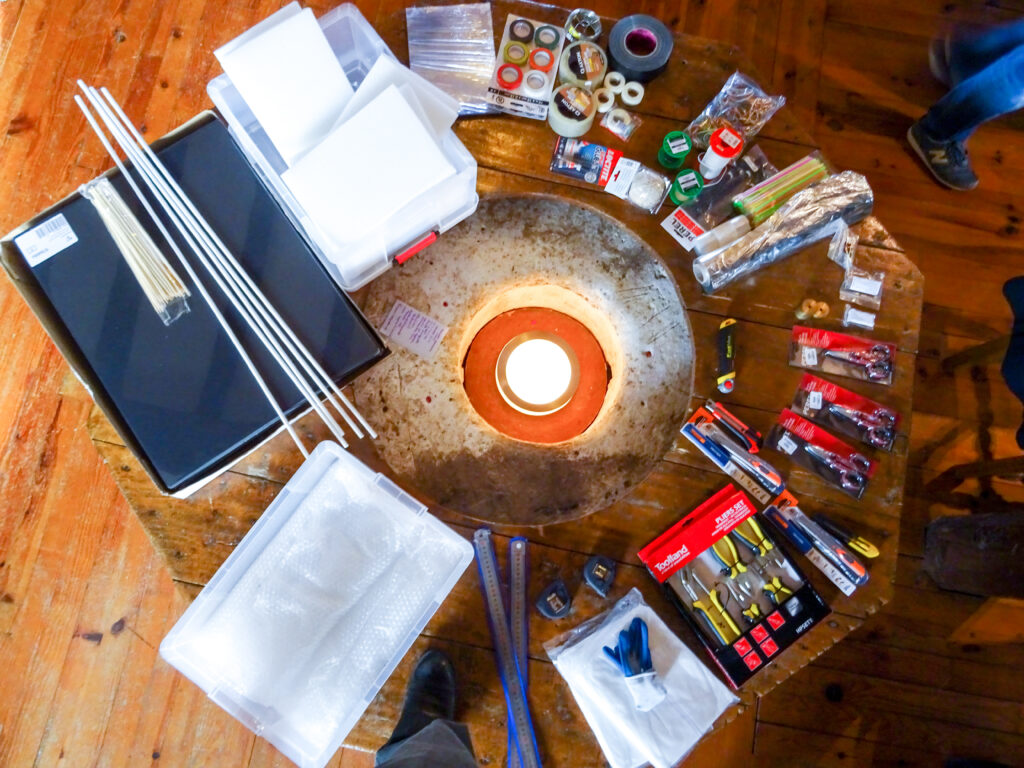
Equipment: The C2309 kit
These are what astronauts have. It can be modified according to your stocks. This is small DIY material, the list offered (in pd and ppt format) has been tested and works but can be changed easily. Ideally, each group should have a C2309 kit at their disposal, but in practice the easiest way is to make the equipment available in the room. The quantities available are then greater than what is indicated in the kit (you can have 100 straws, even if the kit indicates that the astronauts only have 10): the groups must be careful not to exceed the quantities in their device (but several groups can use 10 straws).
DIY equipment: in addition to the kit, provide cutters, scissors, glue guns, pliers, protective and cleaning equipment: cutting mat, plastic sheeting, garbage bags, brooms… Eggs must also be provided for the final test.
TRANSITION
The ship indicates after a certain time (good time for a short break or tidying up): “That’s it! We managed to do the editing you recommended. We left and launched the camera. It worked !!! Cheer ! Too strong guys on Earth! We’ll send you the film we recovered.”
Show the video “MO T2” https://youtu.be/2LIr9OTkvhE fall in the first person from a smartphone, then arrived at the bottom, we guess an external presence which seizes the smartphone (we even hear a few words in extraterrestrial ).
Say that for reasons related to space trajectories, communication is cut off until the next morning
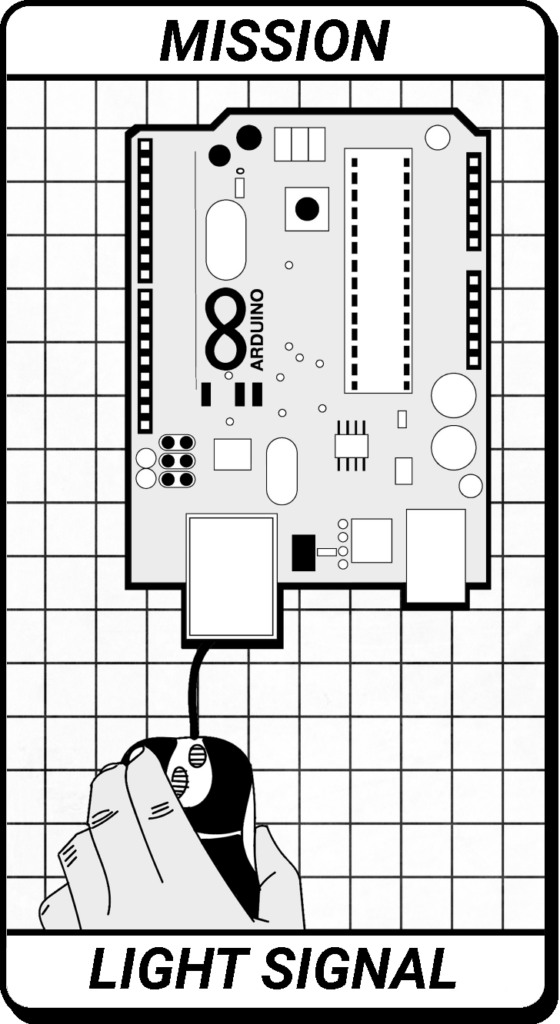
TASK : ARDUINO AND LIGHT CODES
DAY 2 / morning
Communication with the ship:
“Have you seen and heard??? Unbelievable ! Someone took the camera! There is a living presence down there that seems to be speaking. We absolutely have to try to communicate. We don’t really know what or how. If it’s a human or an intelligent living presence, the easiest is light and morse code, hopefully they know Earth enough to know this basic protocol.
Well, we have arduinos and enough to make a long cable here. But we don’t know anything about Arduino. Can you, within 2 hours, send us a user manual on how to do it? We clearly started with an AR22 protocol. Hurry, but test everything before sending it to us.
Good luck, time is running out, and the destiny of humanity may be in your hands…”
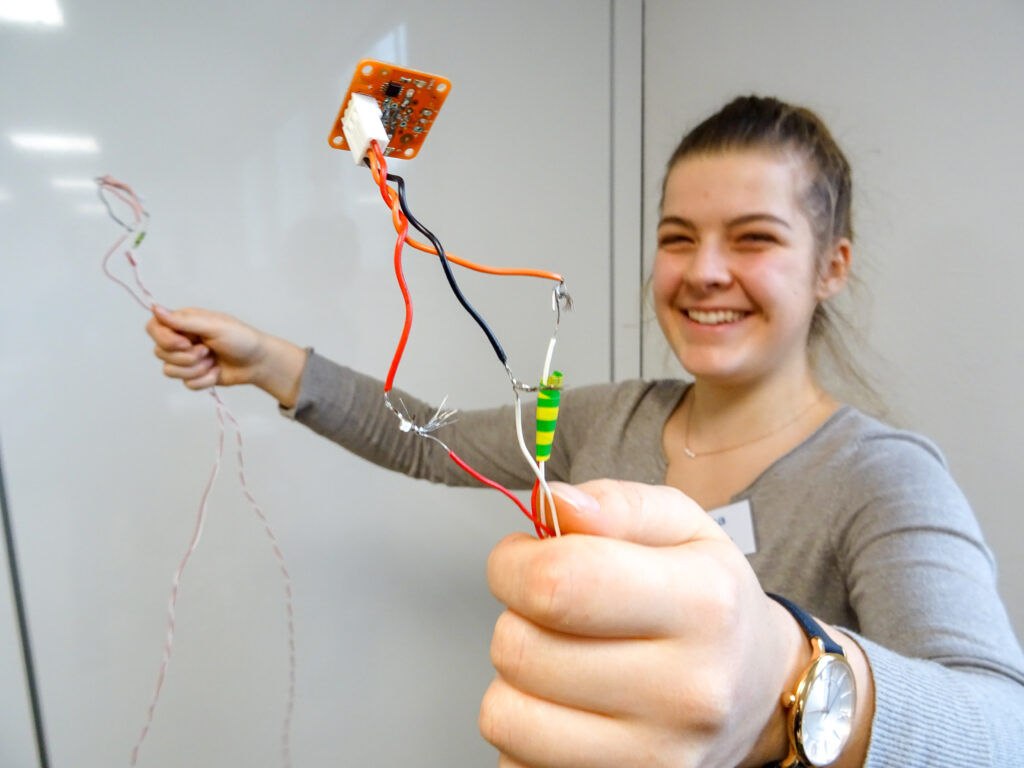
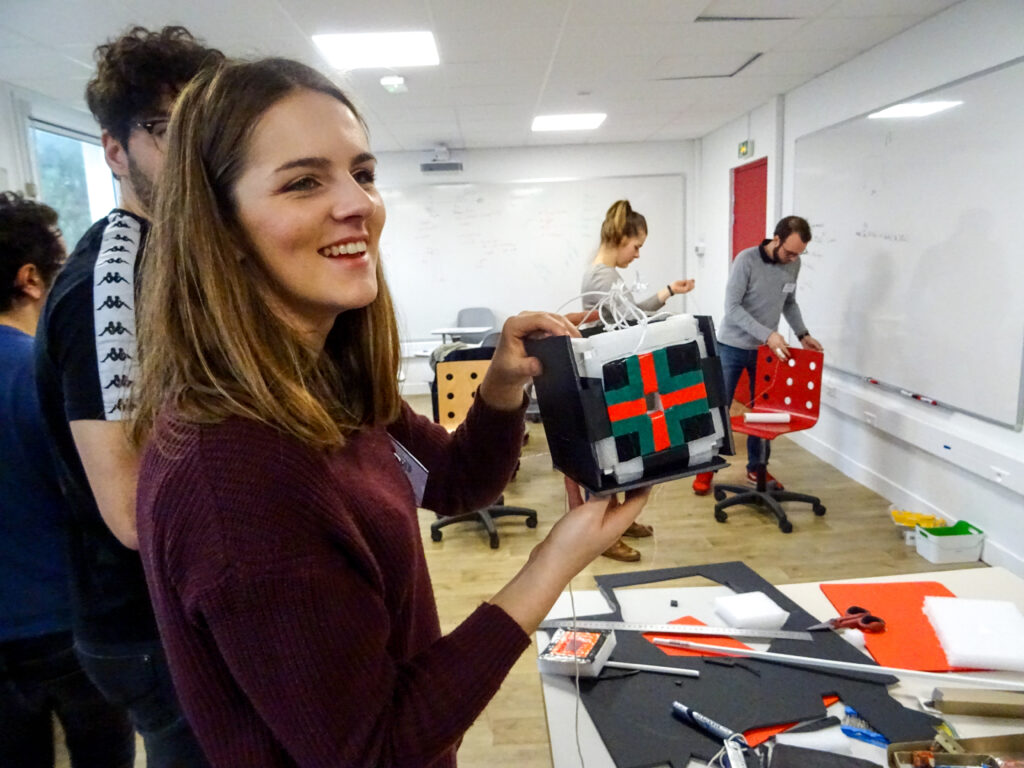
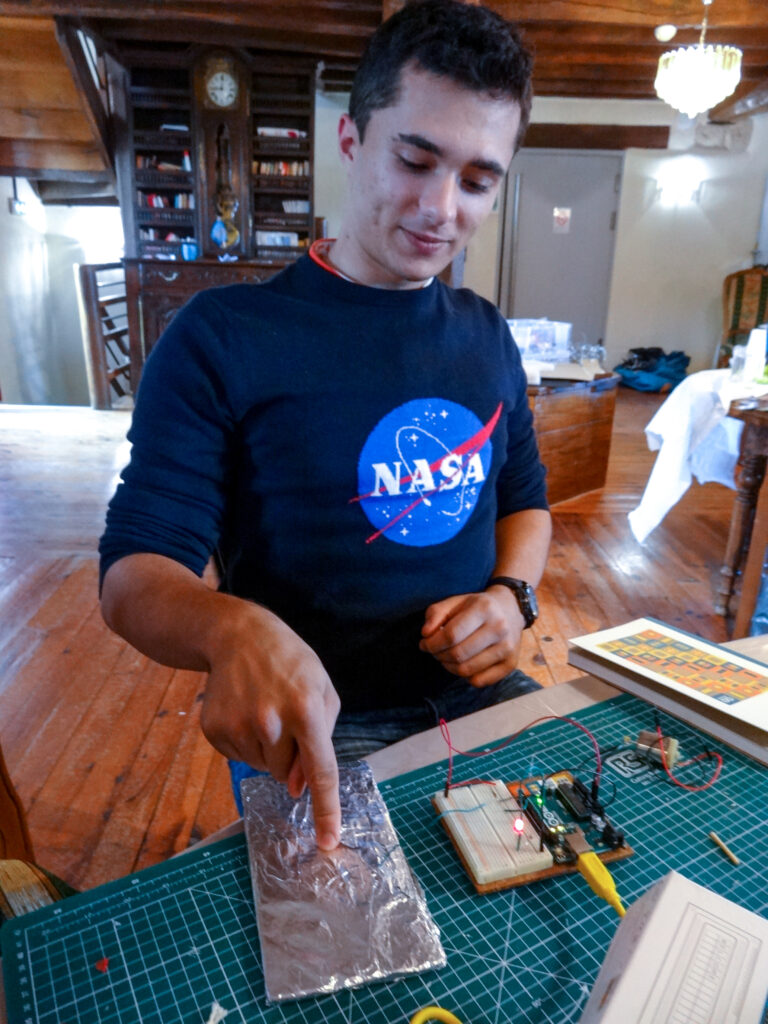
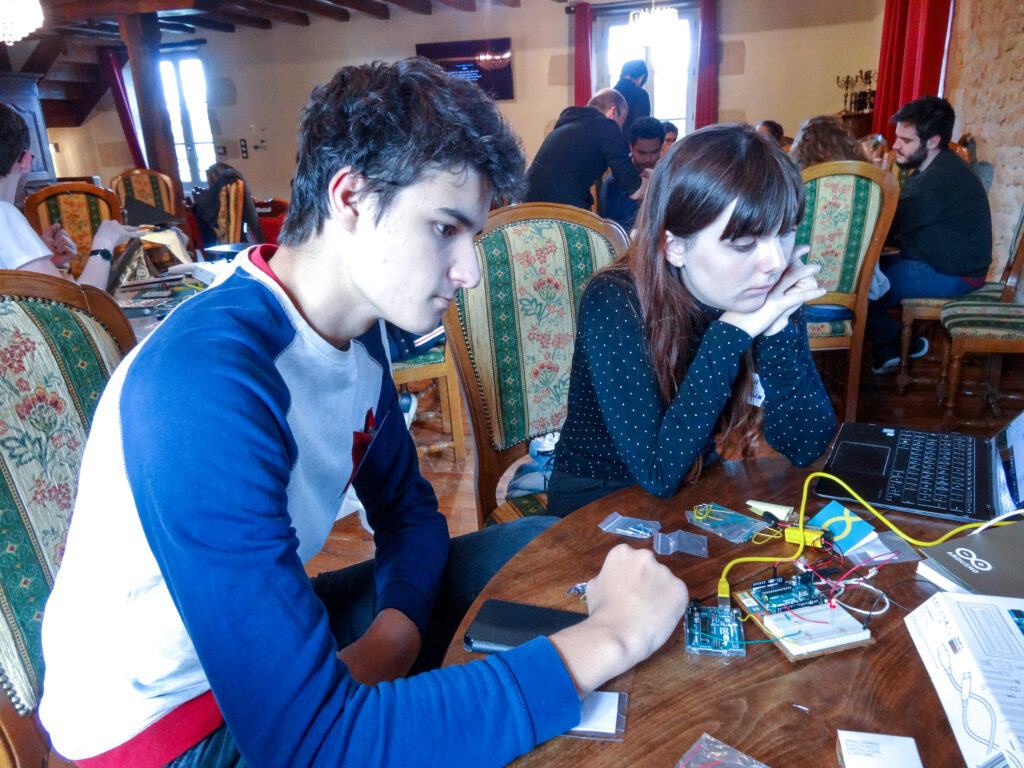
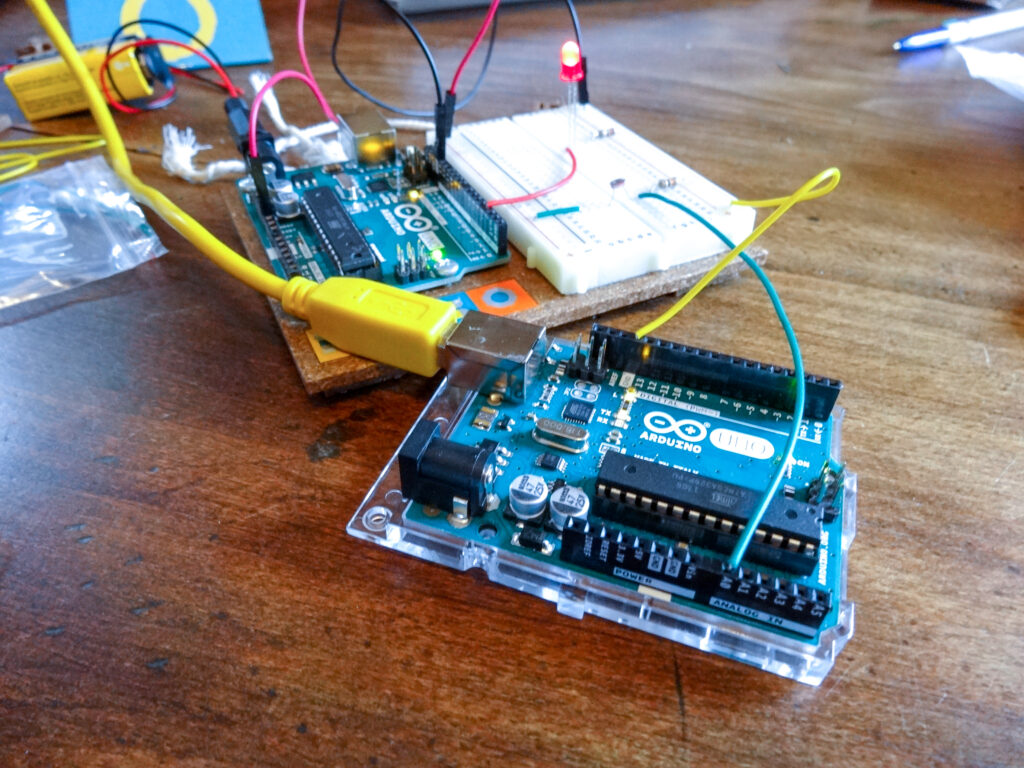
In this test, students must first design an LED system that emits any succession of ON and OFF and if possible another system that detects it.
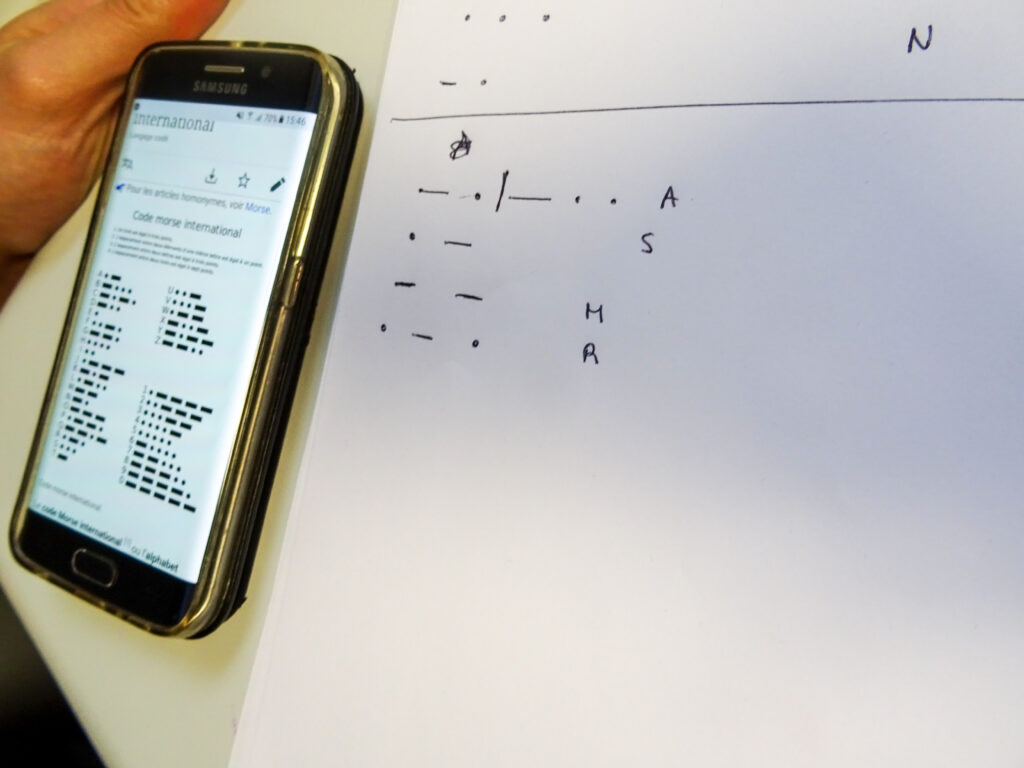
Then they have to test that they manage to transmit and decode a secret code like SOS in Morse code among themselves (no need to program the Morse translation by default, the students tell the LED directly when to light up or not).
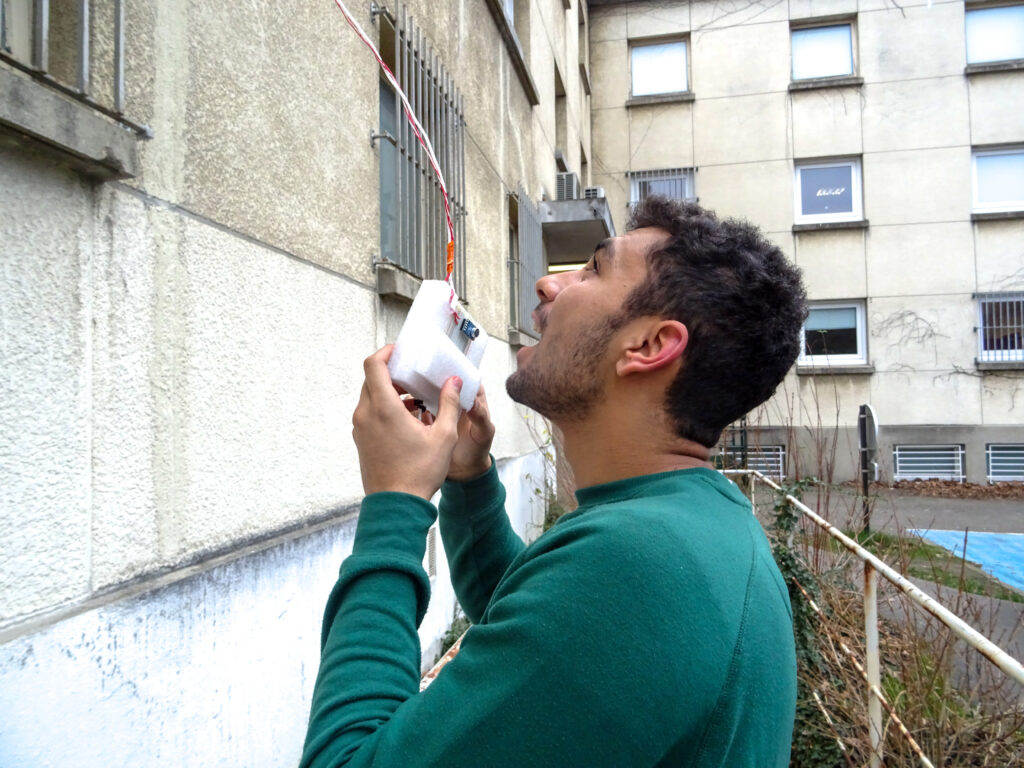
Optional: we choose the prototype that works best and we wire it with a longer cable distance (5 meters) and we separate the students (two different rooms, or at the top and bottom of a window) and we gives a code to one of the groups, the other to decode it.
Give participants the link to the AR22 protocol.
Practical course of the test:
A sufficient number of Arduino kits must be provided: Arduino card (Uno for example), LED, resistor, light sensor (preferably analog, it’s simpler). Also provide a reel of wire (prefer cables with several wires, to facilitate handling of long lengths), and welding equipment and cutting pliers.
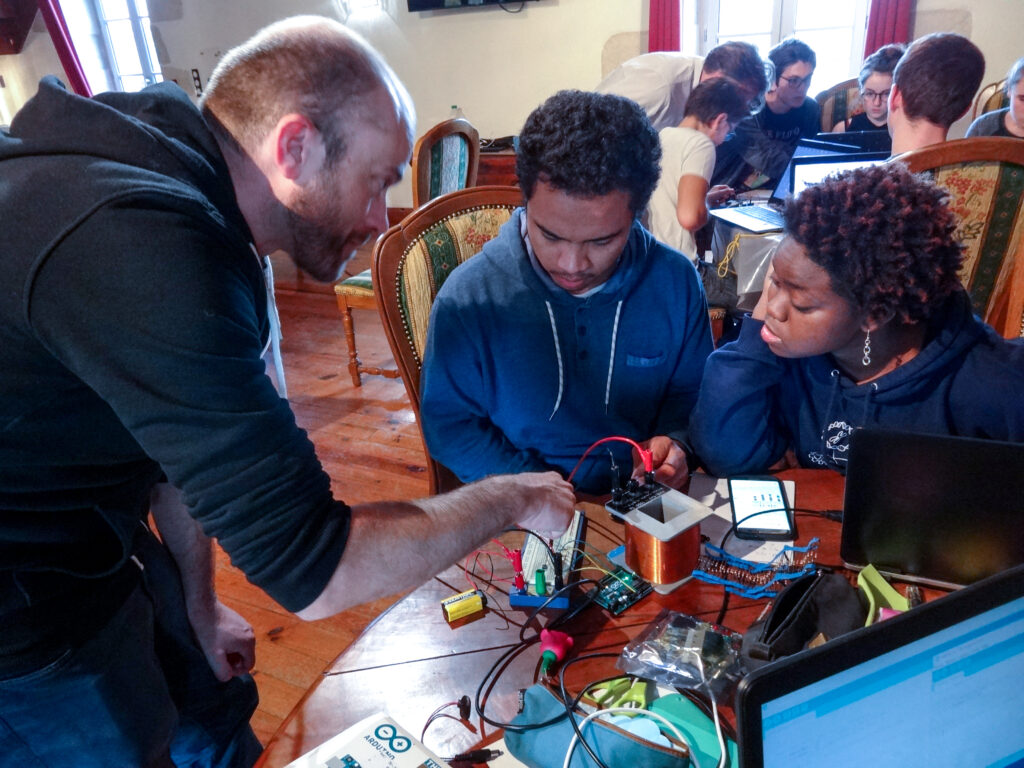
If the students have never used microcontroller boards, they should be given an introductory lesson. A teacher plays the role of “Arduino specialist” and comes to train the team at the bare minimum: he quickly explains the principle of a microcontroller board, and gives the boards the task of “testing your board”, “turning on a led” and ” measure voltage” from the opentp.fr website (https://opentp.fr/card/). For students who have knowledge of programming and have done some electricity, 30 minutes is enough.
Depending on the students and the objectives, additional constraints can be added (“additional constraints issued by the operational team”)
– change cable length
– impose a fast flow in transmission and reception of light signals
– impose a morse encoding/decoding by the microcontroller
The event ends with a collective session of tests and demonstrations. The students must then agree together which is the best prototype and the supervisor announces that he will send the plan and photos to the ship immediately.
TRANSITION
The ship sends them a message:
“That’s it ! We managed to do the editing you recommended. And something answered us! YES ! Look !
transition video 4 (MO T4): strange light signals then message from the ETs asking that we make them a souvenir video on gitech, science, humans.
The ship sends a message to say:
“amazing, right? Well, it’s up to you to play and make these videos, we can’t here. Be careful, we don’t have enough fuel autonomy, we have to leave at XX:XX so send us the videos before XX:XX so that we have time to send them to the crater!
TASK : VIDEO OUTREACH
DAY 2 / afternoon
The students must design, in small groups, videos for the ETs that tell a little about their gitech adventure. Encourage them to talk about the experiments/assemblies/science they have done these two days, even if this can also include other things (human dimension, futuristic, universalist message, etc.).
Warn them that editing takes a long time to do, and encourage them to do it live on their smartphone. Force them to do a little retroplanning that anticipates the time of editing and exporting the video.
Useful links: editing on Android smartphone with Youcut or on iOs with iMovie or KLinemaster / on PC or Mac with VSDC or iMovie or MovieMaker / stop motion on smartphone: stop motion studio
Once produced, we organize a projection of all the videos by warning the students that we have sent them in parallel to the ship for transmission to the E.T.
EPILOGUE
show video “MO E4”: final video where the E.T. say it was great then end credits (you can add the names of the participants, students and teachers to the credits).